Field notes · Look · Try · Compare
Exploring light and dark portrait backgrounds
Try lighter and darker surroundings, and discover how they meet the shapes of a portrait.
A lighter or darker background can give a portrait a different set of relationships. Follow the edge of a sleeve, the outline of a dress, or a face among surrounding tones. Clear separation and quieter merging each offer something you can explore.
Follow a pale shape against two backgrounds.
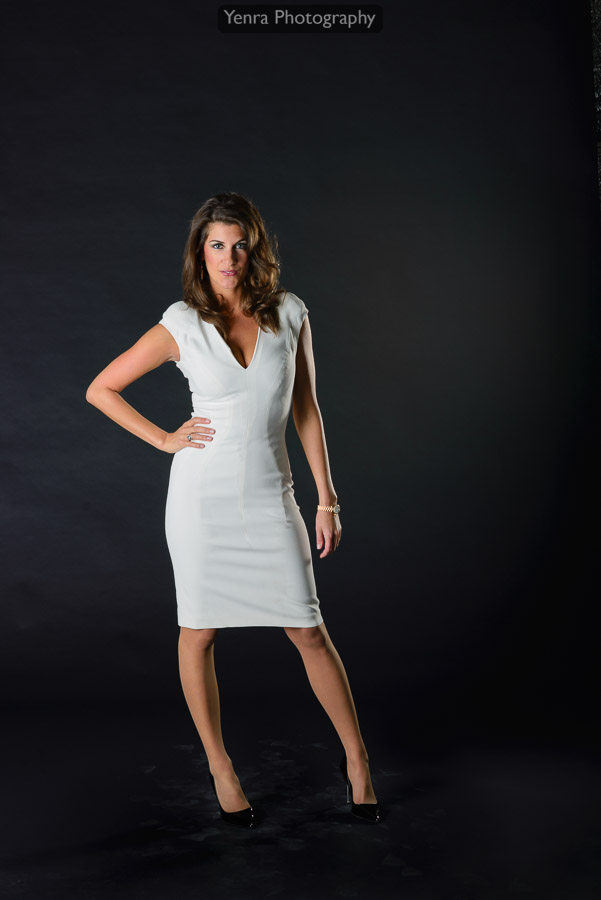
Elegant Woman in White Dress · Yenra Photography archive
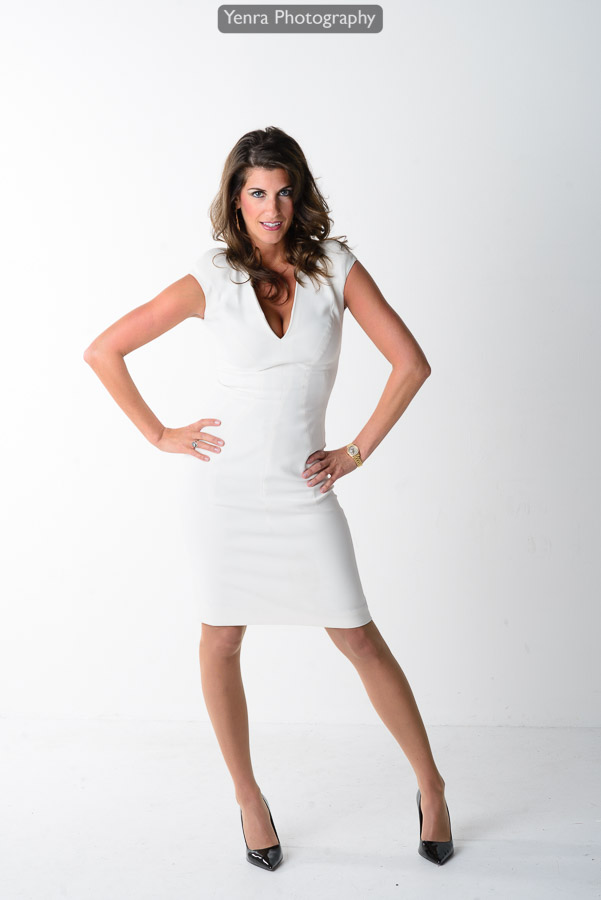
White dress against a pale background · Yenra Photography archive
The white dress makes a distinct shape against the dark surroundings in the first photograph. In the next, the dress and pale background sit closer together in brightness. Look at the edges that remain visible and the details within the fabric. Which parts attract your attention first?
Pose and framing also differ between these portraits. Enjoy the two arrangements as examples, then use their differences to choose a question for your own experiment. You might follow the dress outline, the hands, or the relationship between hair and background.
Explore where darker tones meet.
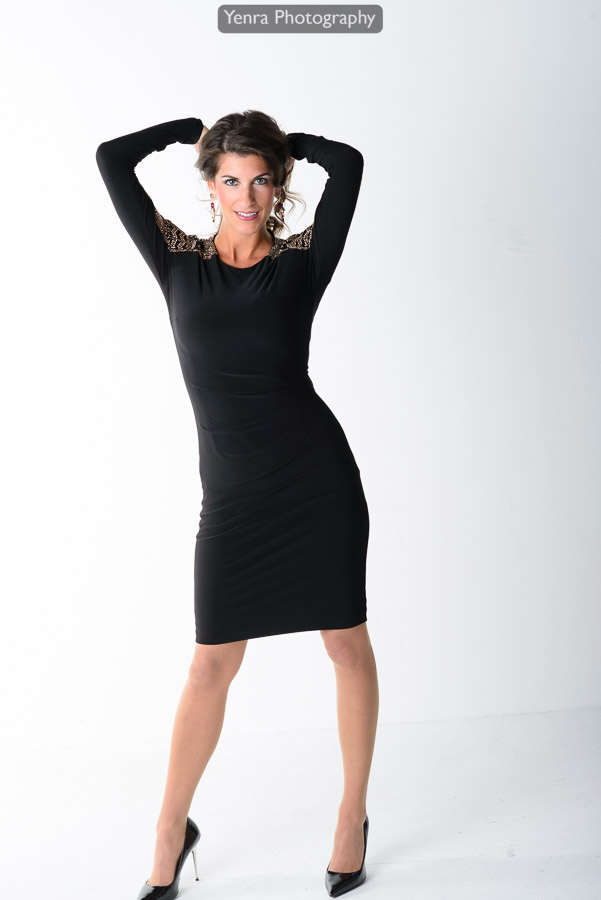
Woman in Black Dress · Yenra Photography archive
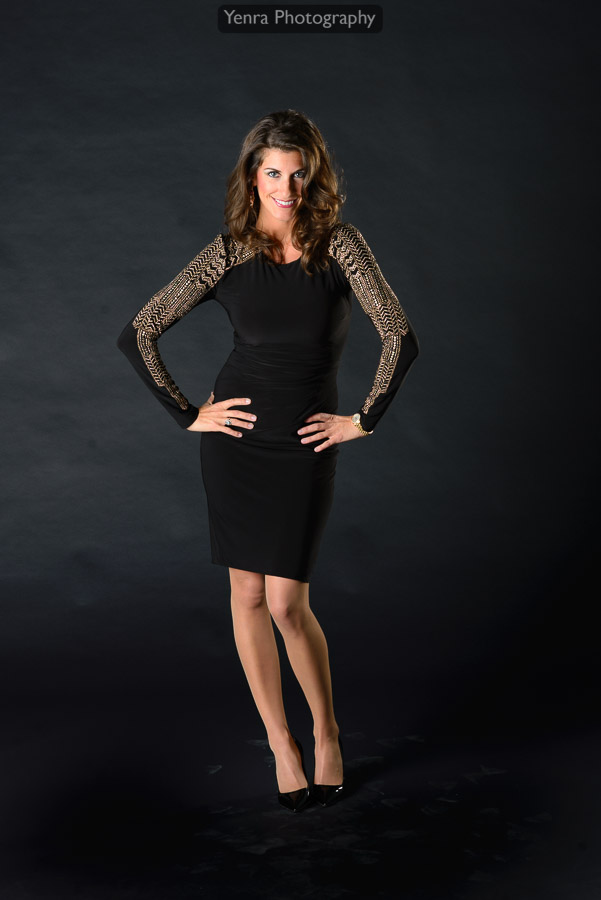
Black dress against a dark background · Yenra Photography archive
The dark dress and raised arms form a clear shape against the pale background. Against darker surroundings, some edges of the dress become quieter while the face and patterned sleeves invite attention. Trace both pictures at your own pace, noticing where one shape separates from another and where similar tones meet.
You can choose a background for the relationship you enjoy. A distinct outline may help you notice a gesture; closer tones may draw you toward a face or a small detail. Try both and see what each contributes to your photograph.
Begin with something simple.
A cup and two sheets of paper can give you a useful first comparison. Keep the subject, viewpoint, and available light reasonably similar while changing the surface behind it. Your camera may adjust brightness automatically, so look at the pictures it produces and make another adjustment if you wish. You can explore the relationship with the camera and materials already at hand.
Look back with curiosity.
- Where is the outline easiest to follow?
- Where do similar tones meet?
- Which relationship would you like to develop?
Continue with Choosing a portrait background, Noticing light and dark shapes, or Seeing light in a portrait.
Browse all 173 photographs from Winter Studio → · Take the light-and-dark-background experiment with you →