Field notes · Look · Try · Compare
Seeing light in a portrait
Follow highlights, shadows, and the light around a person, then try three orientations to one window.
Light gives a portrait its small changes of emphasis: a bright strand of hair, a shaded fold, a face emerging from its surroundings. Begin with one of those details. Follow where the light becomes brighter or quieter, then imagine what a small turn might change.
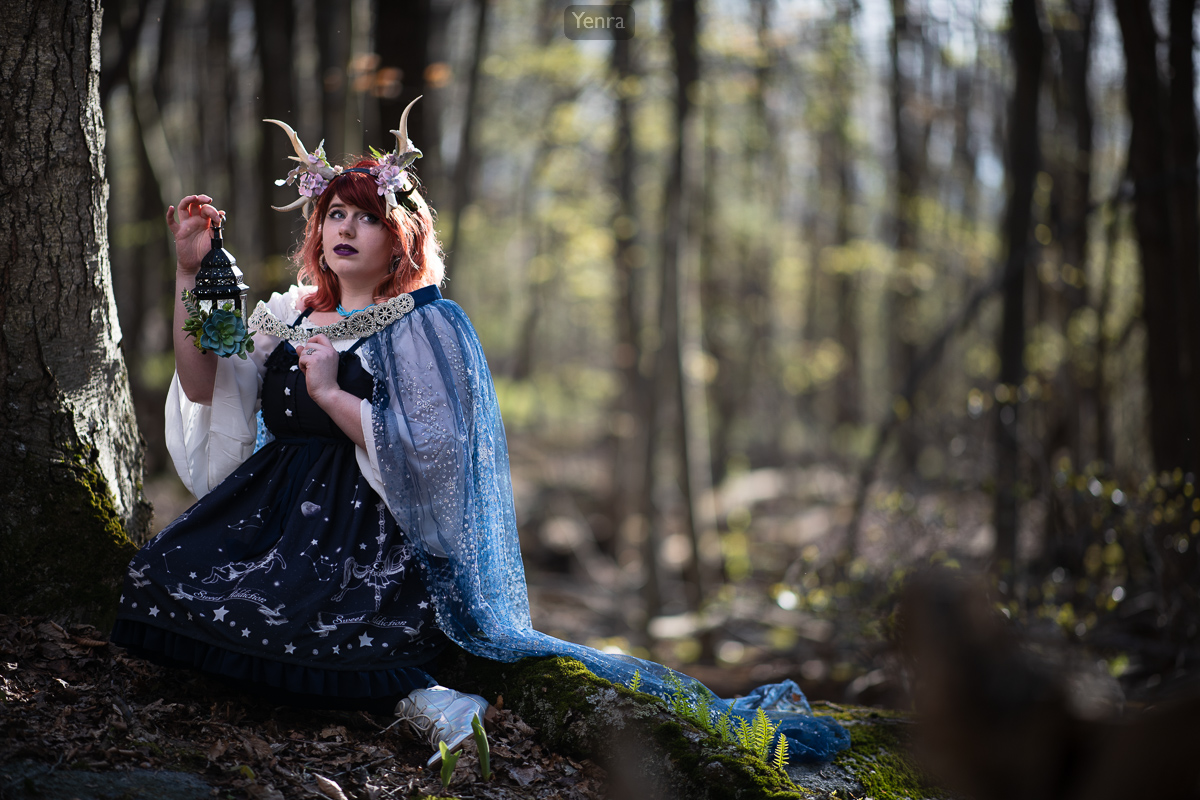
Woman in Woods · Yenra Photography archive
Follow a bright edge.
In this forest portrait, light catches the red hair and the pale fabric near the shoulders. The dark blue dress gives those brighter areas room to stand out. The trees and foliage beyond carry their own patches of light, so your eye can move from the figure into the setting.
Look at the edge where hair meets background. Then look at the face and hands. Different parts of a person can have different relationships with the light at the same moment. When you photograph someone, take a starting frame and look for one edge or feature you would like to bring forward. A small turn of the head or a change in your viewpoint can give you another version to compare.
Notice the journey from bright to shaded.
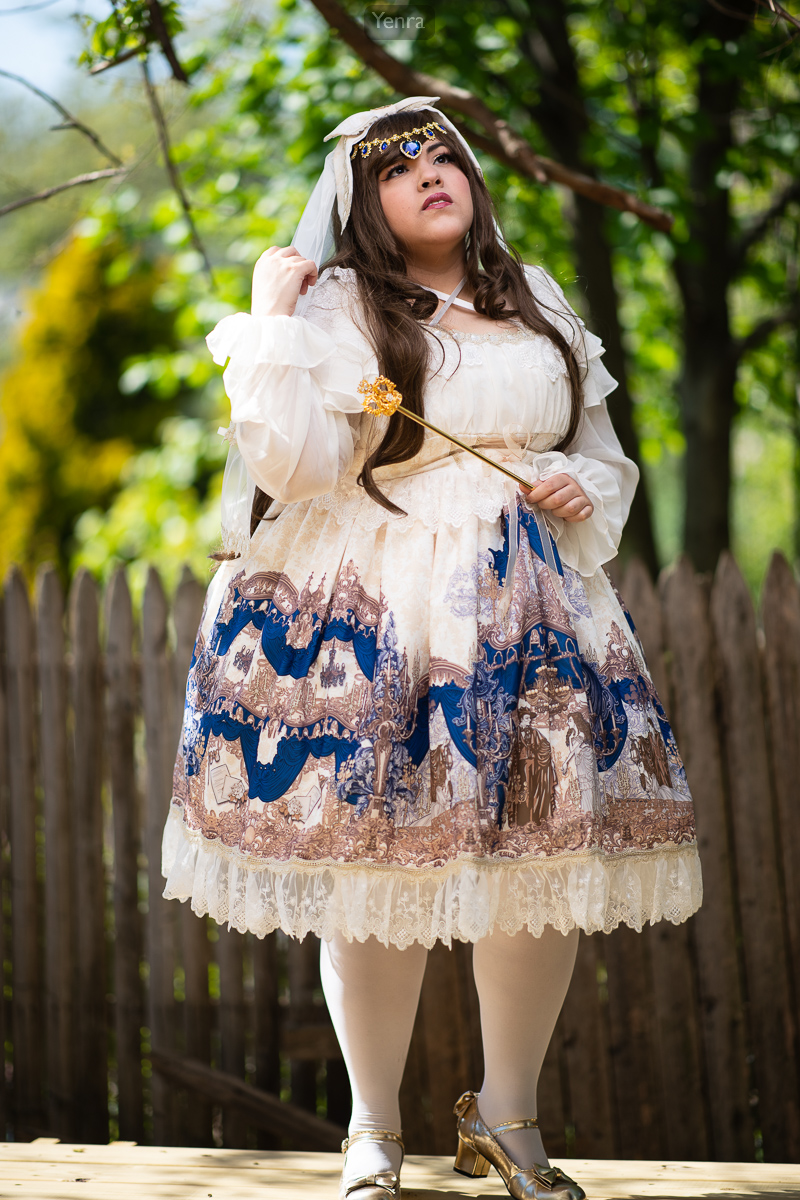
Regal Woman with Golden Scepter · Yenra Photography archive
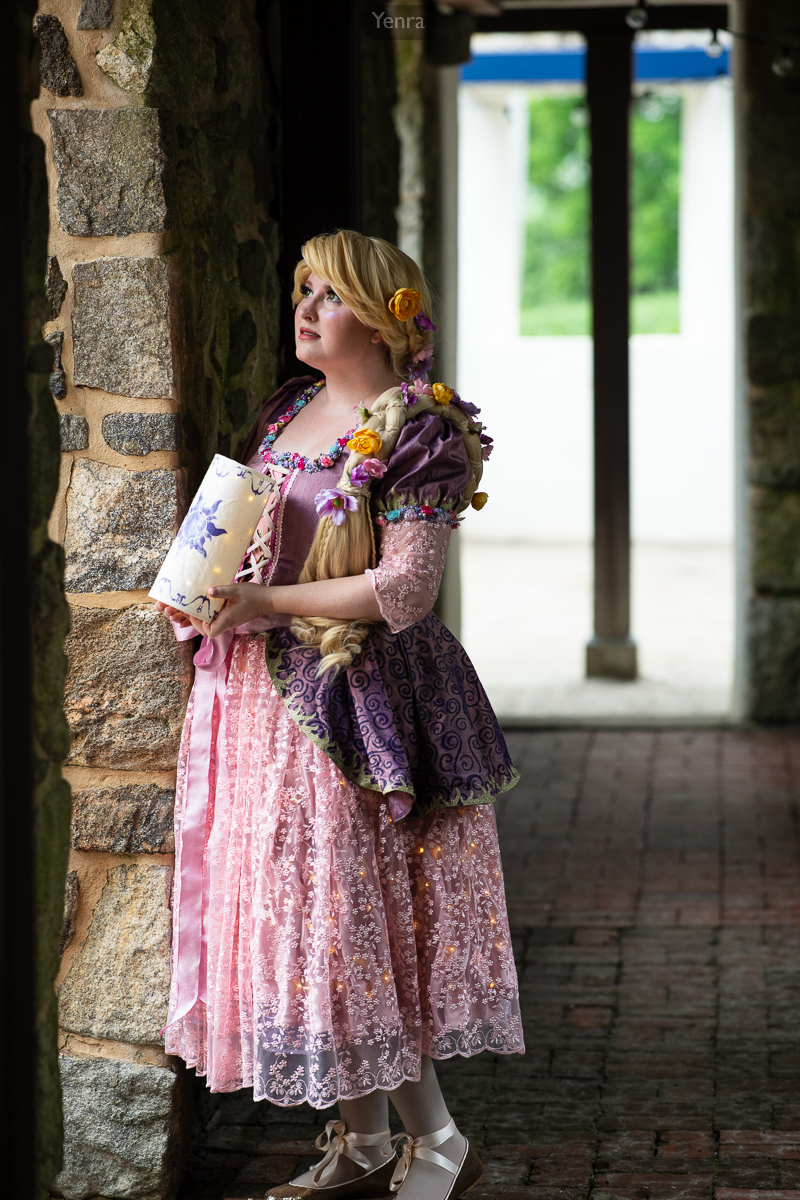
Rapunzel, Tangled · Photograph: Yenra
The pale dress in the first photograph contains both bright fabric and shaded folds. Look at how those changes describe its shape. The face has its own pattern of light beneath the hair and headpiece. In the lantern portrait beside the stone pier, the face, sleeves, stone, and darker passage offer several different surfaces to study.
Choose a small area rather than trying to understand the whole picture at once. Where does a bright cheek become a shaded cheek? Where can you still see texture in pale clothing? Where does a shadow give an object shape? These are useful questions whether your subject is a person, a cup, or a folded piece of cloth.
Include the light around the person.
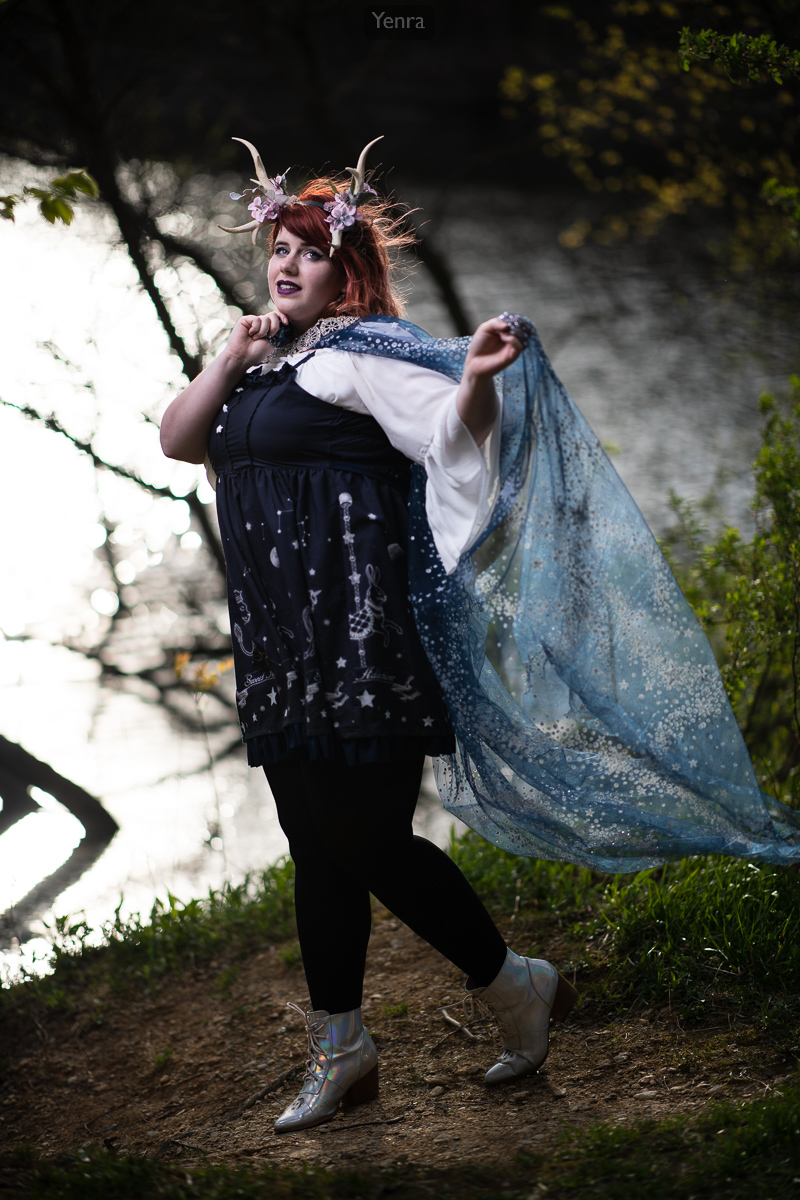
Woman in Antlers by the Water · Yenra Photography archive
In the portrait beside the water, bright reflections occupy a large area behind the figure. Fine bright strands of hair appear against the darker trees, while the cape introduces a softer blue shape. The surroundings help make the light on the person easier to notice.
Try looking at the scene in three areas: the person, the space immediately around them, and the more distant background. You might enjoy a bright figure against a quiet background, a darker figure surrounded by light, or a gentle transition between both. Make a frame and let the result suggest your next adjustment.
Try three orientations to one window.
A window gives you a convenient place to watch light and shadow change. Nikon photographer Cliff Mautner suggests exploring window light alongside the shadows in the room. That is one useful starting point for a small study. Read his window-light suggestion at Nikon.
- Choose a comfortable subject and position. Work with a willing portrait partner, or place an object near a window. Use light that feels comfortable to look toward.
- Make a starting frame. Notice the brightest area and one place where you can see a transition into shade. Adjust exposure until the details you care about are visible.
- Try a slight turn. Keep a similar framing and turn the person or object a little toward the window. Make another photograph.
- Try a different orientation. Turn a little away, or move your own viewpoint. Watch how the shaded areas change before you photograph them.
- Compare the three versions. Pick one relationship you enjoy and make a fourth frame that explores it further.
Compare what the light contributes.
- Which version draws your eye to the feature you care about?
- Where do the shadows help describe shape or texture?
- How does the brightness behind the subject change your reading of the portrait?
You can return to the same window at another time and make a new set. Keep a sentence about what you noticed in the field practice notebook. Continue through the complete High-Speed Sync Forest gallery, or explore portrait backgrounds and out-of-focus light and color.