Field notes · Look · Try · Compare
Choosing a portrait background
Look for depth, light, and useful shapes around a person, then try three nearby viewpoints.
A background gives a portrait somewhere to belong. Trees can create a quiet rhythm; a doorway can frame a figure; a patch of light can make a small gesture easier to notice. Begin by asking what the place contributes, then try a few positions that bring that contribution into view.
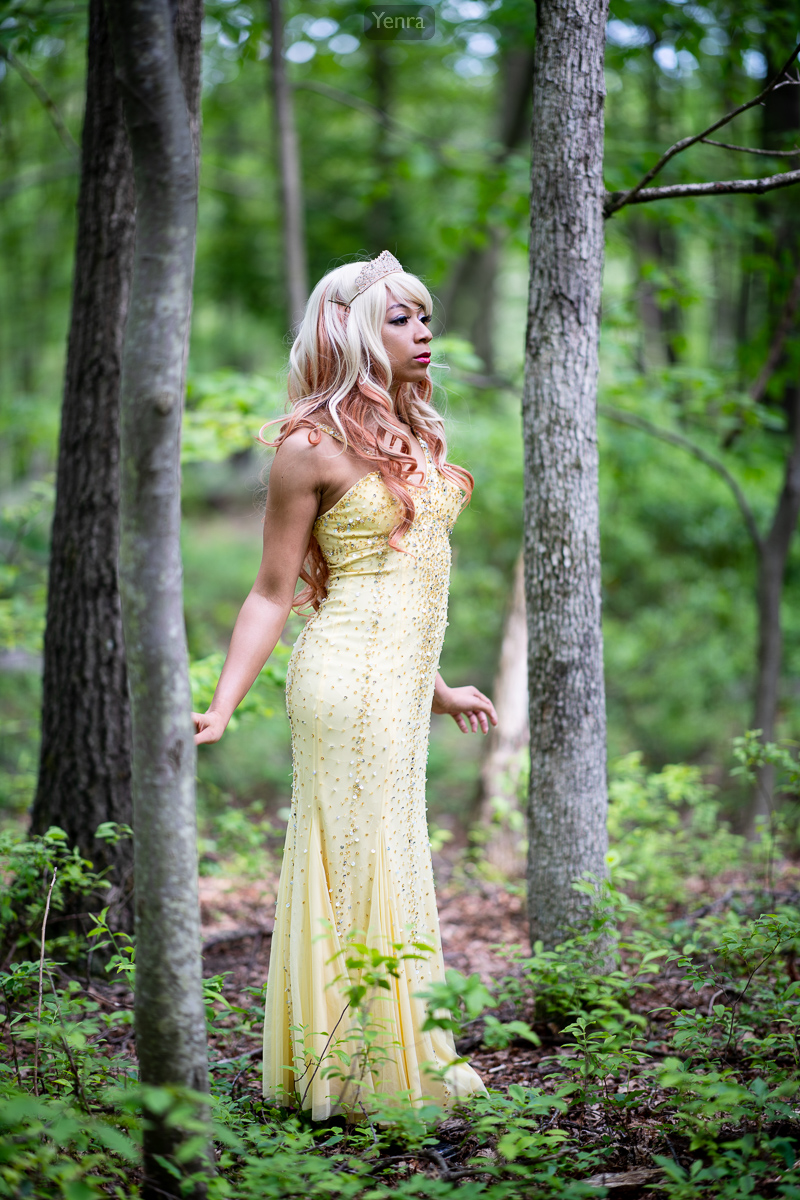
Fairy-tale Princess, Yellow Gown, Tiara · Photograph: Yenra
Look at the spaces around the person.
In this Fairy Forest photograph, the pale yellow dress sits between upright tree trunks. The darker trunks give the frame structure, while softer green foliage fills the spaces around the figure. Look at the gap beside the face and the room above the head. Those spaces are part of the composition too.
When making your own portrait, take a moment to look around the outline of the person. A small step can move a branch away from a face or place a light patch beside a shoulder. Try a position, make a frame, and see which relationships become clearer. A background can stay lively and detailed while still giving the person room.
Give foreground and background different roles.
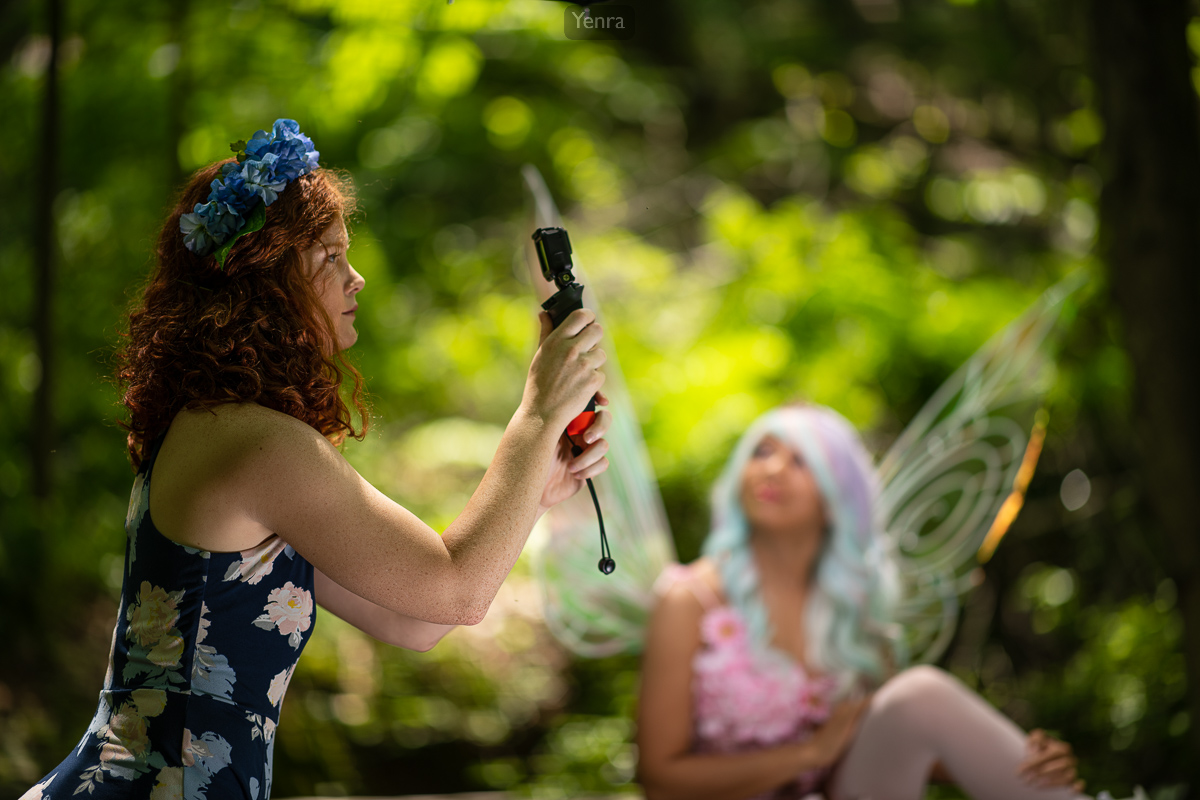
Filming with GoPro · Photograph: Yenra
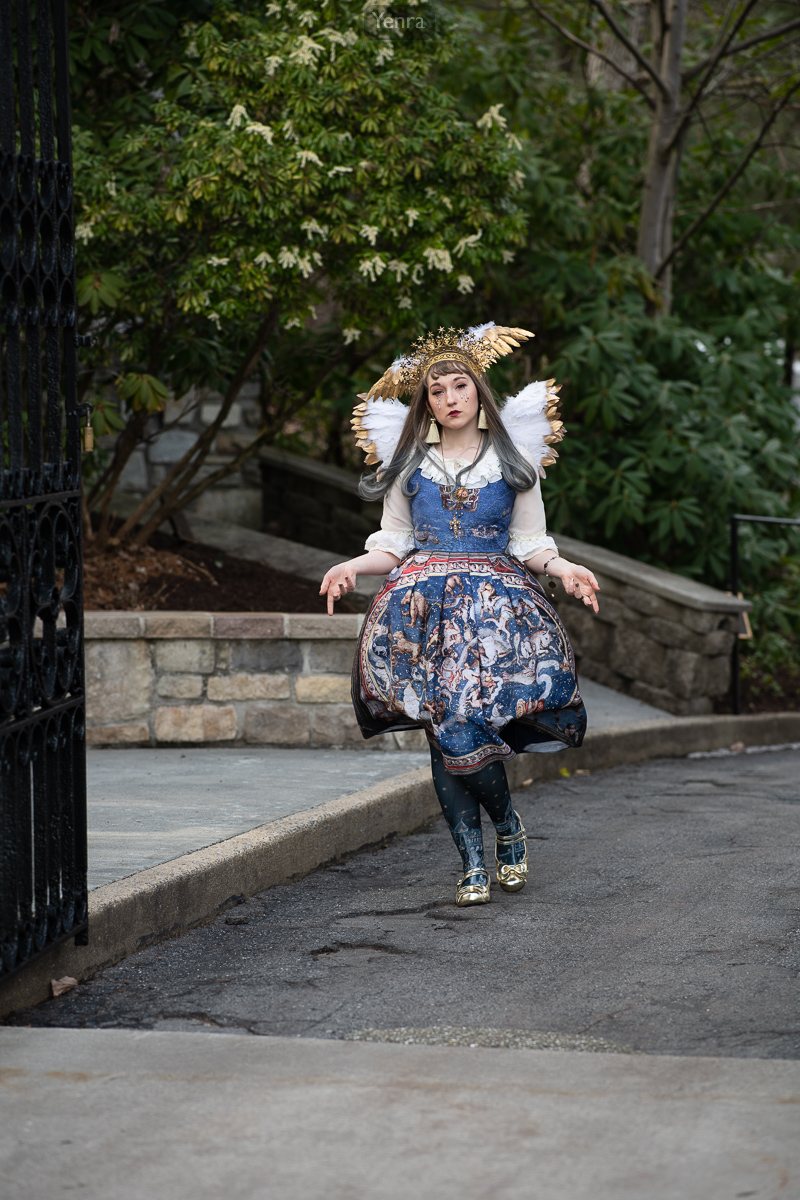
Angelic Lolita Fashion at the Grotto · Photograph: Yenra Photography
In the photograph of a person filming, the near figure is sharply described while the winged figure farther back is softer. Both people remain part of the scene. Focus gives your eye a starting point, and the second figure gives it somewhere to travel.
In the Sakura Angelic portrait, the curb leads toward the figure and the foliage creates a darker area behind the light headpiece. Notice how the setting remains recognizable. A portrait can benefit from clear surroundings just as much as from a soft background; choose the balance that helps the picture say what you want.
Look for a useful meeting of light and dark.
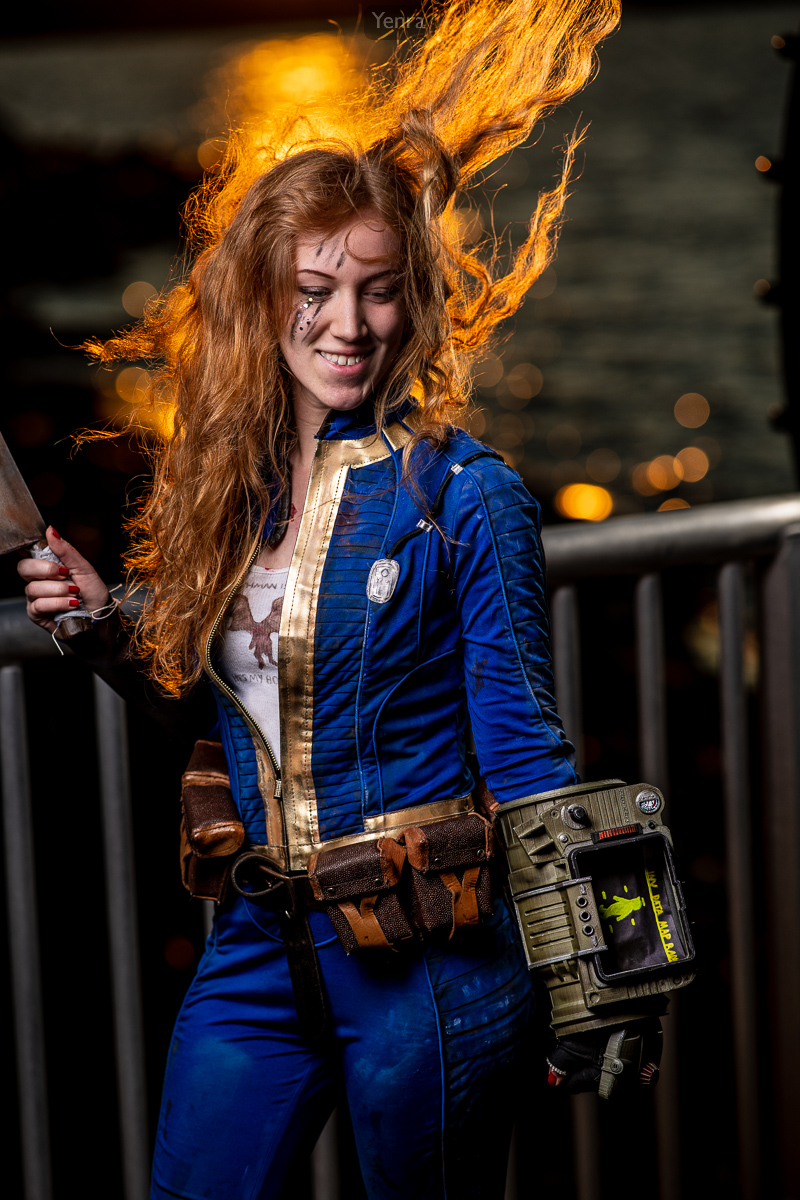
Vault Dweller at Sunset, Fallout · Photograph: Yenra
The bright hair in this MAGFest portrait stands against a much darker part of the scene. That contrast draws attention to its movement. The blue costume and warm light also give the picture two distinct color areas.
Try looking for a background that makes a feature you care about easier to see: the edge of a costume, a hand, a prop, or a face. Watch the whole frame as you move. A bright background detail might become an attractive echo, or you might prefer it nearer an edge. Let the result guide your next small adjustment.
Try three nearby positions.
- Choose a comfortable spot together. Ask the person which direction and stance feel good, and find a background with something you enjoy: color, lines, texture, or light.
- Make a starting photograph. Keep the framing simple and notice what appears just behind the face and shoulders.
- Take a small step to one side. Keep a similar distance from the person. Look for a new relationship between their outline and the background.
- Try a slightly different camera height. Compare where the horizon, a rail, or a line of foliage now falls.
- Review the three frames together. Choose one relationship you like, then make another photograph that gives it a little more room.
Compare what each version contributes.
- Where does your eye go first, and where does it go next?
- Which background detail helps describe the person, character, or place?
- Which position gives the edges of the figure the clearest shape?
Use any camera that lets you explore a viewpoint. With a phone, start with its normal photo mode so you can study the scene as it is rendered, then try portrait mode as another variation if you enjoy it. Save the versions you like: a small set of experiments can become a useful notebook of your own ways of seeing.
Continue through the Fairy Forest, Sakura Angelic, and MAGFest 2019 galleries. To explore softness and highlights, read Exploring bokeh; for a broad setting, return to Reading a wide-angle portrait.