Field notes · Look · Try · Compare
Sketching the main shapes in a photograph
Keep a useful visual note with a frame, a few broad shapes and one observation.
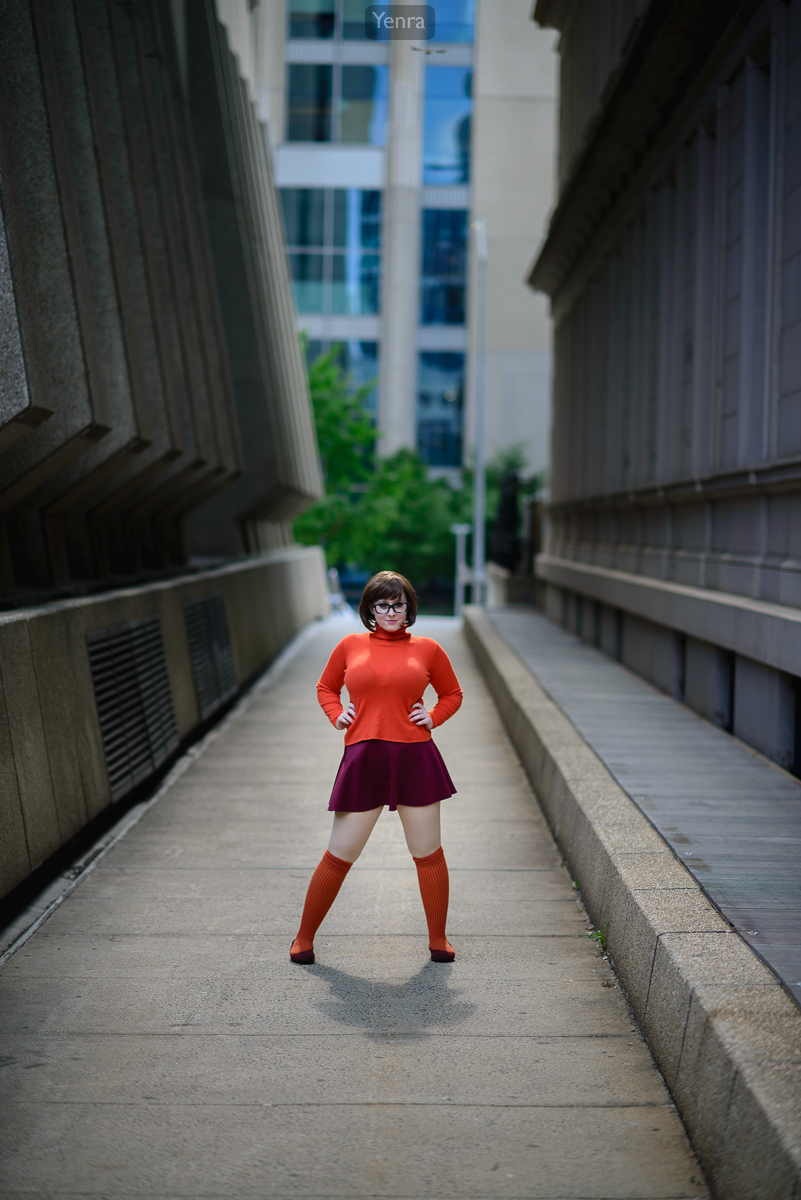
Velma, Scooby Doo · Photograph: Yenra
Captured: 2016:05:27 16:56:57
A small sketch can help you notice how a photograph is arranged. A rectangle, a few broad shapes and a short note are enough to keep a useful idea beside the picture.
The studies here are new editorial drawings made from three Animazement 2016 photographs. Each keeps a few visible relationships and leaves many details to the complete image. You can choose different shapes for your own study; rough marks or written spatial notes both work well.
Begin with the frame and a few large shapes
Two tall walls border the walkway around the model. Their broad shapes narrow toward the middle of the photograph, where the space beyond remains visible. The orange sweater makes the central figure easy to find among the larger architectural areas.
A corridor in a few shapes
- Left wall polygon
- Right wall polygon
- Open central walkway
- Small subject mark in lower center
This is one selective reading of the finished photograph. Keep the shapes that help you explore your own observation.
Begin with a rectangle that roughly matches the photograph’s proportions. Add the two wall masses, leave an opening between them, then place a small mark for the model. You have already recorded several relationships: large beside small, enclosure around an opening, and a subject in the lower middle.
The sketch can stay simple. Write one sentence beside it, such as “the large walls surround the smaller figure.” Keep the photograph’s link and credit with your note so you can return to the full picture.
Keep the broad light and dark areas
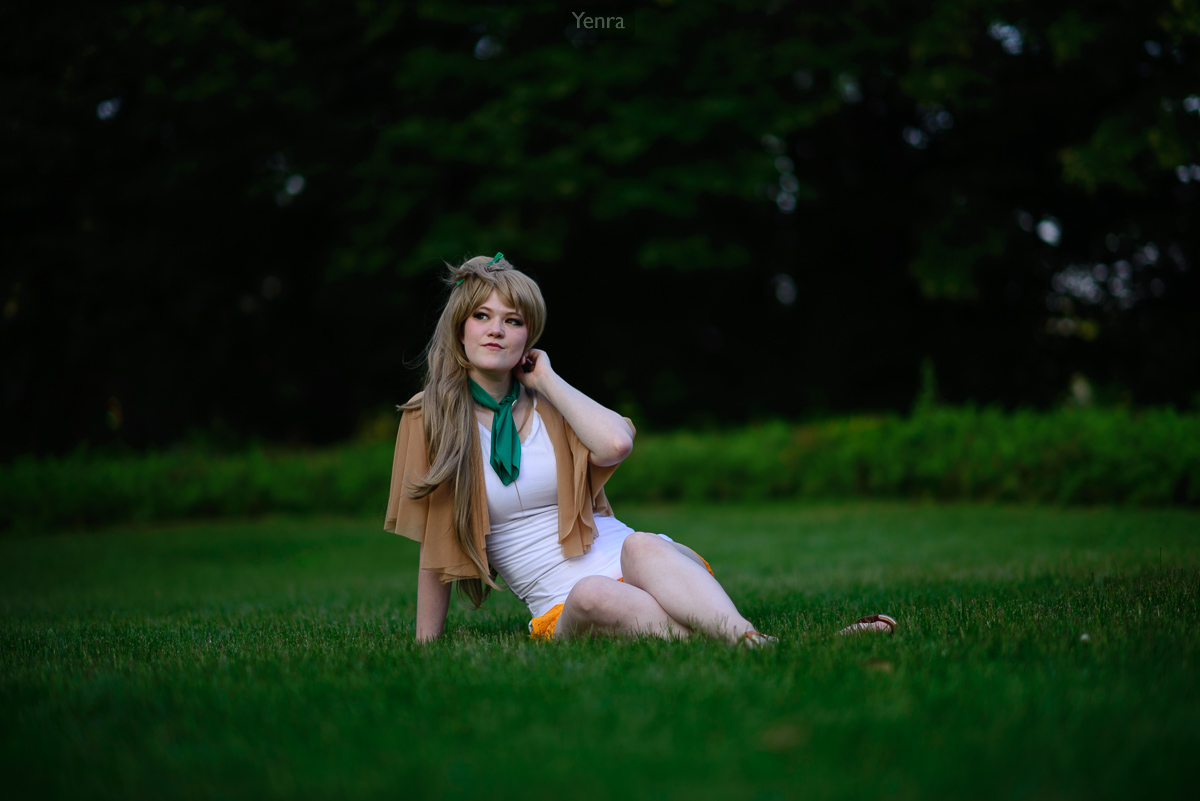
Kotori Minami as Rowlet, Love Live! x Pokemon Sun/Moon · Photograph: Yenra · Credit: Melvinopolis Costuming & Design
Captured: 2016:05:27 19:38:57
Dark foliage fills much of the upper area, with grass spreading across the lower part of the frame. The seated model’s pale clothing makes a compact lighter shape between those broad green areas.
A seated portrait in broad areas
- Upper foliage mass
- Lower grass area
- Seated subject shape
This is one selective reading of the finished photograph. Keep the shapes that help you explore your own observation.
Here, a loose boundary between foliage and grass can be more useful than drawing individual leaves. Add one simple seated-subject shape and look at how much space remains around it.
The diagram uses flat tones to distinguish the areas. Return to the original photograph to enjoy all the transitions, texture and details that the sketch leaves open. Your note might describe how the light subject shape sits against the darker background.
Try exchanging a detailed drawing for three loose marks. Which relationship still reads clearly? Keep the level of detail that helps you remember your observation.
Use simple shapes to study a group

Cosplay Gathering: Mythical Creatures Unite! · Photograph: Yenra
Captured: 2016:05:28 13:42:55
Six standing models form a row behind four seated models. The different heights create a broad upper arrangement and a lower group, with clothing, wings and gestures adding detail throughout the photograph.
A group arranged in two rows
- Six upper figure marks
- Four lower figure marks
- Frame and ground line
This is one selective reading of the finished photograph. Keep the shapes that help you explore your own observation.
One mark per person is enough to begin studying the arrangement. Place six marks higher and four lower, then look at their spacing and overlaps. You can explore how the rows fit within the frame while leaving faces and costume details to the original picture.
These drawings describe selected relationships in finished photographs. They offer new learning notes, rather than a reconstruction of the original planning. The useful question is what your own sketch helps you notice now.
Choose a photograph, spend a few minutes making a rough study, and add one observation. If drawing is not convenient, write where the main shapes sit instead. Either approach can leave you with a clear idea to explore when you return to your photographs.
Look back with curiosity.
- Which shapes did you choose to keep?
- What becomes easier to notice when details are simplified?
- What would you like to try in another photograph?
Keep exploring
Noticing light and dark shapes · Balancing subjects and space · Making a small color palette from a photograph
Browse the complete Animazement 2016 gallery.