Field notes · Look · Try · Compare
Making a coordinated set of individual portraits
Choose a few shared framing cues while making room for each person’s comfortable portrait.
Idols Photoshoot · Photograph: Yenra
Captured: 2019:08:24 11:58:40
A coordinated portrait set gives each person a picture of their own while carrying a few recognizable choices from one photograph to the next. It can be useful for a cosplay group, a small team or friends making an album together. Start with a shared purpose, then leave room for individual comfort, clothing and expression.
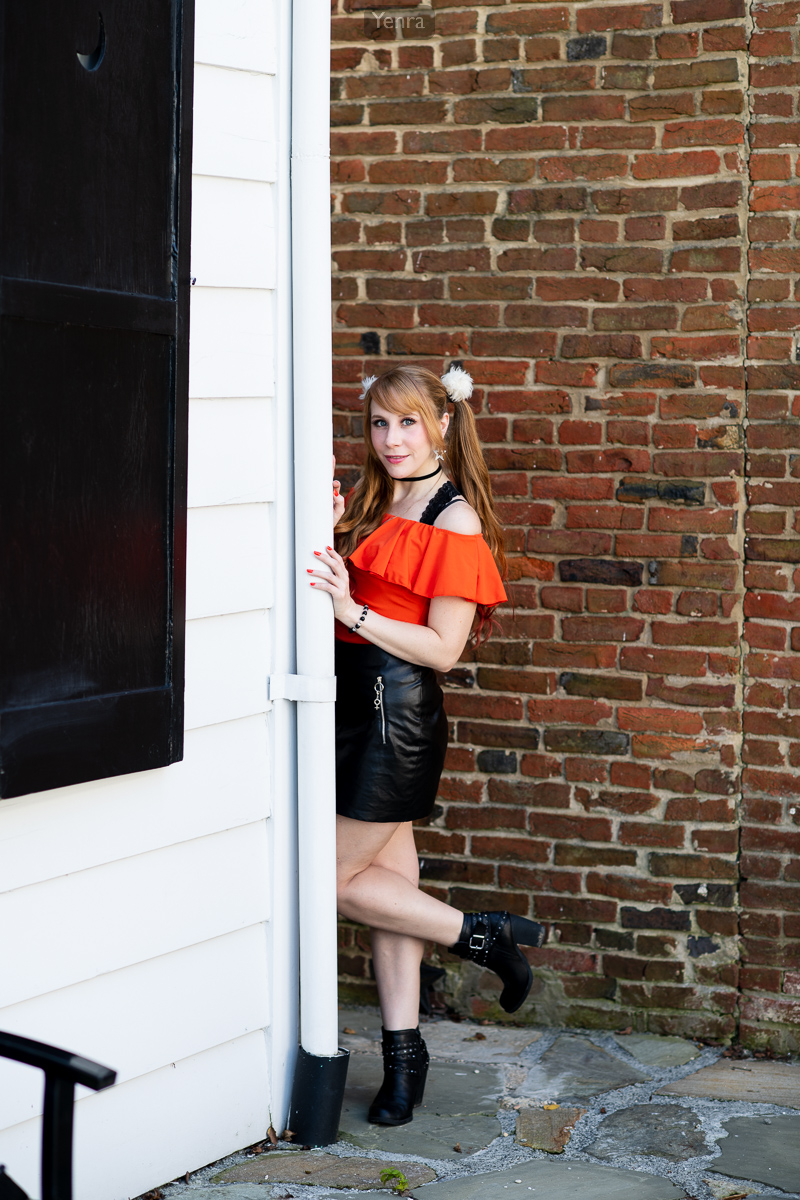
These three StarStruck Idols portraits share a recognizable corner of pale siding, a white pipe and brick. Their gestures and framing differ. They offer examples to study, not evidence of an identical pose, lighting setup or original brief.
Choose a small reference frame
The first portrait includes a full-length view, a bent leg and a red-orange top. The pale wall and white pipe help identify the setting, while the brick adds another surface near the edge. Notice which of those features you would want a second picture to carry forward.
For your own set, agree on its purpose before choosing the frame. An introduction to each person might need a face and some clothing; a costume record might need room for a headpiece, footwear or prop. Ask each participant what they want included and how they would like to be photographed. A shared portrait plan can help you begin.
Choose just two framing cues to remember: for example, portrait orientation and the same recognizable background feature. Make a reference photograph and show it to the next participant. You can use it as a reminder without expecting everyone to fit its exact outline.
Carry the cues into a different gesture
Idols Photoshoot · Photograph: Yenra
Captured: 2019:08:24 12:00:42
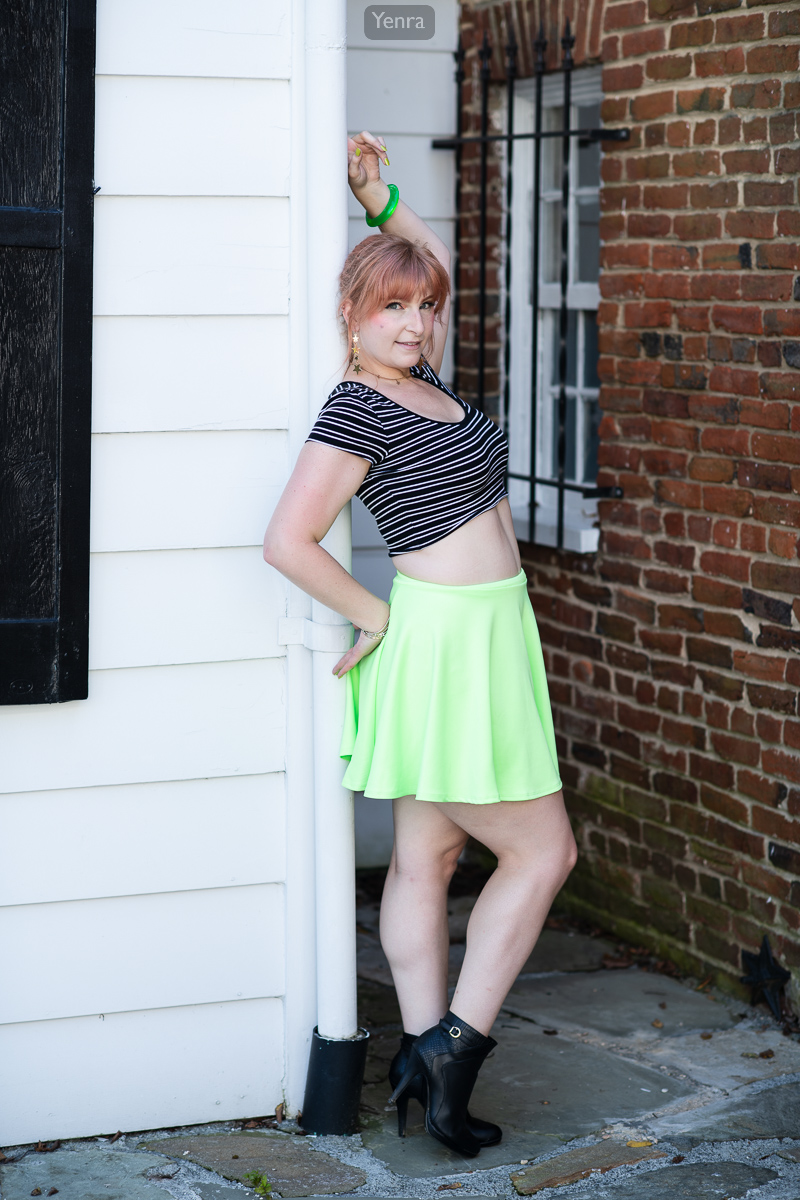
The striped top, green skirt and raised arm make a different shape, while the pipe, siding and brick connect this portrait to the first. Compare the space above the head and beside the arms. Which connections stay useful, and which differences make the picture feel individual?
Invite each person to choose a comfortable starting position and gesture. Adjust the space for their height, headpiece, clothing, prop or mobility. A seated portrait can belong to the same set. If a shared framing cue makes someone cramped or leaves out a detail they care about, revise the cue together.
After each frame, compare it with the reference at a useful viewing size. Look for the two choices you meant to carry through. Then check this person’s face or chosen feature, the edges of their clothing and the surrounding space. Review focus and light afresh: a repeated background does not guarantee that a new portrait will look or record the same way.
Choose a set with room for each person
Idols Photoshoot · Photograph: Yenra
Captured: 2019:08:24 12:05:44
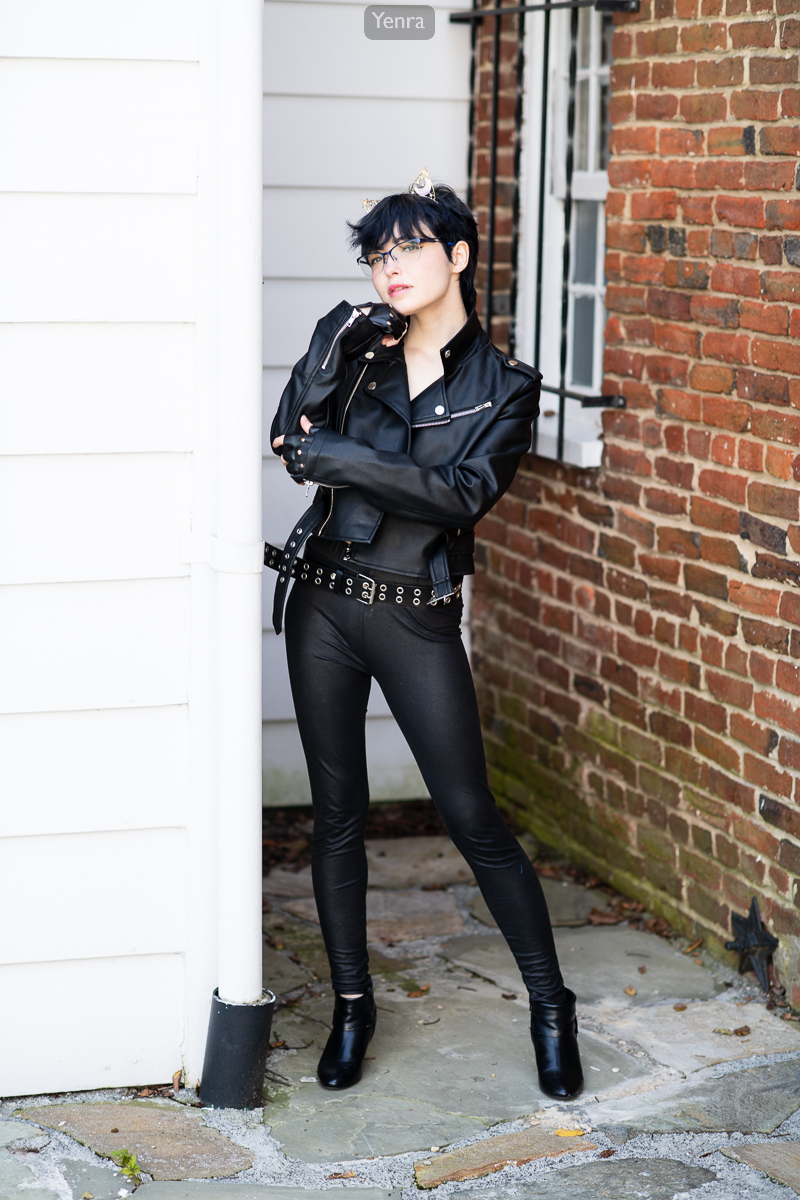
The black jacket and glasses bring another individual portrait into the same setting. Look across all three pictures rather than judging them only one at a time. The background can connect a set even when gestures, clothing and the amount of space around each person change.
Review a small selection together. Choose a portrait each participant is comfortable including, then ask whether the set has enough in common to serve its purpose. Keep an optional alternative when it makes a useful difference. A short note such as “same corner and orientation; different gestures” makes your choices easy to remember.
The archive records place these photographs on August 24, 2019, with an 85 mm focal length and f/2.8 recorded for each. Their shutter times differ. Those settings do not establish a fixed camera position, matching light or a controlled comparison, and you do not need to copy them for this exercise. Begin with the equipment and comfortable space you have.
Continue with connecting portraits through a shared background, or explore the complete StarStruck Idols gallery. You can keep the shared idea simple and let each person help shape their own photograph.